Step by step guide to SketchUp garden modeling kicks off an exciting journey into the vibrant world of garden design. Imagine crafting your dream outdoor space right from your laptop – that’s the magic SketchUp brings to the table. With its user-friendly interface and powerful tools, you’ll be able to translate your garden ideas into stunning 3D visuals. Whether you’re a newbie or just looking to polish up your skills, this guide lays down all the essentials you need to dive in headfirst.
From the basics of installation to mastering the art of layering and textures, we’ll walk you through the entire process. You’ll learn about the vital tools that make garden modeling a breeze, how to navigate the software like a pro, and the techniques to create a lush paradise straight from your imagination. So grab your gear, and let’s get sketching!
Introduction to SketchUp for Garden Modeling
SketchUp has emerged as a go-to tool for garden design enthusiasts, offering an intuitive platform that significantly enhances the planning and visualisation process. With its user-friendly interface and powerful modelling capabilities, it empowers both amateurs and professionals to bring their botanical visions to life. The ability to create detailed 3D models ensures that users can experiment with layouts and plant selections before breaking ground.
The benefits of using SketchUp in garden design include the capacity to visualise projects spatially, allowing for accurate measurements and proportions. This software not only streamlines the design process but also integrates with various plugins to expand its functionality. Users can benefit from the extensive library of pre-designed objects, which can save time and inspire creativity in their designs.
Software Requirements for Beginners
To get started with SketchUp, users should ensure their systems meet the required specifications for optimal performance. The minimum requirements typically include a modern operating system, such as Windows 10 or macOS 10.14 and above, along with a processor that supports 64-bit applications. Furthermore, sufficient RAM (at least 8GB) and a dedicated graphics card can significantly enhance the rendering speed and overall user experience.
It’s also essential to have a reliable internet connection for downloading the software and accessing SketchUp’s online resources. Having a mouse with a scroll wheel can improve navigation and ease of use within the modelling environment, making the design process more efficient.
Installation Process Step by Step
Installing SketchUp is a straightforward process that can be accomplished in just a few steps. Follow this guide to get the software up and running on your machine:
1. Visit the official SketchUp website and navigate to the download section.
2. Choose the version of SketchUp that suits your needs, such as SketchUp Free or SketchUp Pro, and click on the download button.
3. Once the download is complete, locate the installation file in your downloads folder and double-click it to initiate the installation.
4. Follow the on-screen prompts, agreeing to the terms and conditions, and selecting your preferred installation settings.
5. After the installation is complete, launch SketchUp from your applications folder or desktop shortcut.
6. If prompted, sign in or create a SketchUp account to access additional resources and features.
By completing these steps, you’ll be well-equipped to dive into the world of garden modelling with SketchUp, ready to explore its extensive capabilities in creating stunning outdoor spaces.
Basic Tools and Features in SketchUp
SketchUp is a powerful ally for garden modeling, providing a suite of tools that help you create detailed and realistic designs. Understanding these tools is crucial for enhancing your workflow and bringing your garden visions to life. This section dives into the essential tools and features you’ll need, along with tips for navigating the interface like a pro.
Essential Tools for Garden Modeling, Step by step guide to SketchUp garden modeling
When crafting your garden designs, a solid grasp of SketchUp’s core tools is essential. Here’s a rundown of the most crucial tools to get you started:
- Select Tool: This is your main navigation buddy, letting you pick and move your objects around effortlessly.
- Line Tool: Use this for creating clean, precise edges that define your garden layout.
- Rectangle Tool: Perfect for establishing base shapes for patios or flower beds.
- Push/Pull Tool: This tool allows you to add depth and dimension to your designs by extruding surfaces.
- Orbit Tool: Navigate your model from any angle, giving you a 3D perspective to evaluate your design.
- Paint Bucket Tool: Apply colours and textures to your garden elements, adding realism to your model.
Navigating the SketchUp Interface
Getting familiar with the SketchUp interface can streamline your design process significantly. The layout is user-friendly, featuring a toolbar at the top, a drawing area at the centre, and a status bar at the bottom. Key elements to note include:
– Toolbar: Houses all your essential tools. You can find icons for drawing, modifying, and viewing here.
– Drawing Area: This is where the magic happens, your canvas for 3D modelling.
– Status Bar: Provides prompts and messages, guiding you through actions.
Make sure to explore different views and zoom levels to get a better sense of spatial relations in your garden design.
Customizing Toolbars for Garden Design
Customising your toolbars can drastically improve your efficiency. Tailor the SketchUp interface to fit your personal workflow by adding the tools you use most frequently. Here’s how:
1. Go to the View menu and select Toolbars.
2. Choose the toolbar sets that align with garden modelling, such as the Drawing and Large Tool Set.
3. You can drag and drop to rearrange tools based on your preference.
4. For additional tools, explore the Extensions menu, where you can add plugins that may aid in specific garden modelling tasks.
Custom toolbars not only save time but also enhance your creative flow, letting you focus on design rather than hunting for tools.
“A well-customised workspace can be the difference between a productive session and a frustrating one.”
Step-by-Step Garden Modeling Techniques
Creating a stunning garden layout in SketchUp can transform your outdoor space from drab to fab. This section breaks down the nitty-gritty of designing your garden, guiding you through each stage with precision and style. Grab your digital tools and let’s get to it!
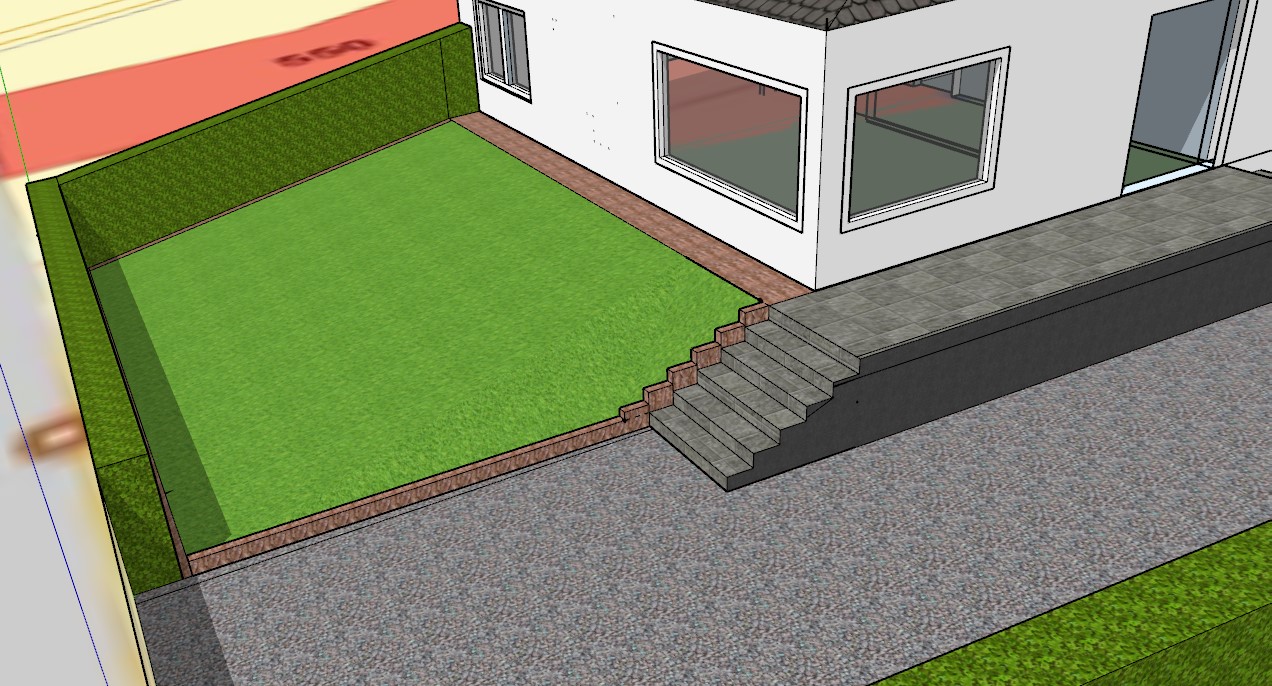
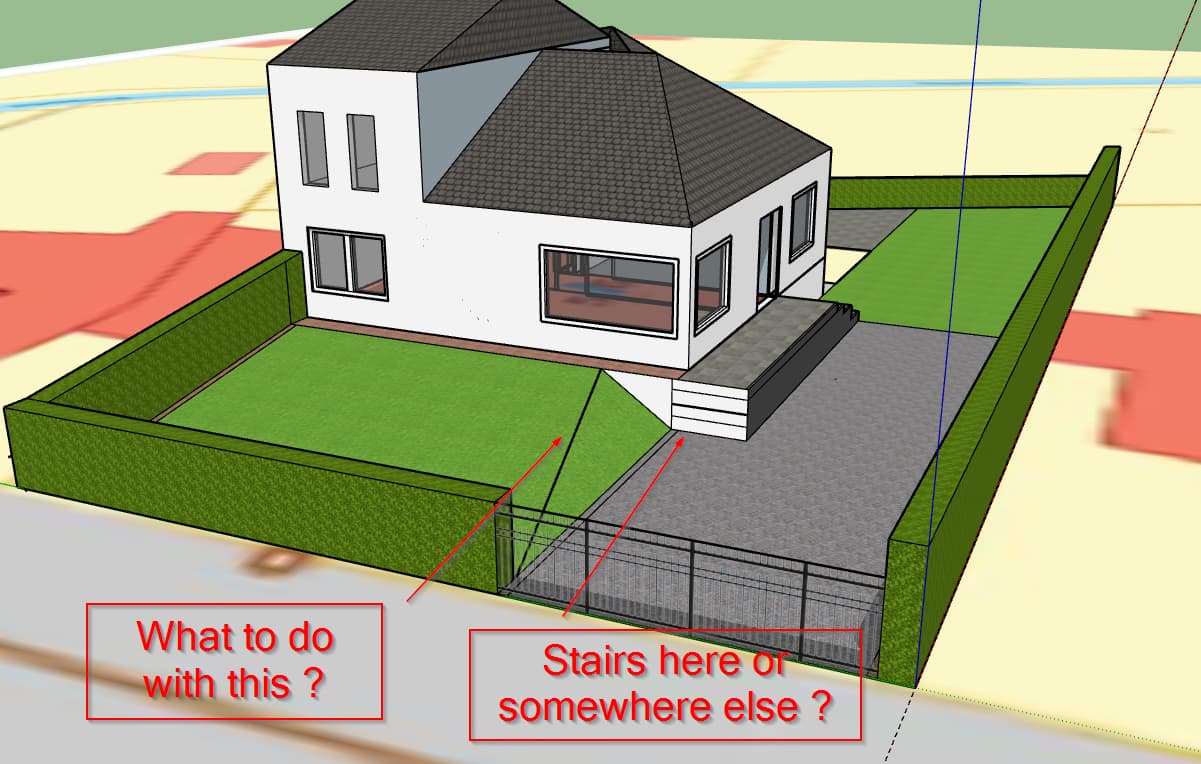
Basic Garden Layout Creation
Starting off with the foundations of your garden, you’ll first want to sketch out a basic layout. This is where your imagination meets functionality. Here’s a streamlined process to set up your garden plan:
1. Open SketchUp: Start with a new model. You’ll want to ensure your workspace is clear and uncluttered.
2. Set the Dimensions: Use the tape measure tool to Artikel your garden’s dimensions. Enter precise measurements for accuracy.
3. Draw the Boundaries: Utilize the rectangle tool to create the perimeter of your garden space. This will serve as the canvas for everything that follows.
4. Add Paths and Features: Implement the line tool to draw paths and other features, such as benches or fountains, that will enhance your garden aesthetic.
5. Save Your Layout: Don’t forget to save your work periodically to avoid any hiccups.
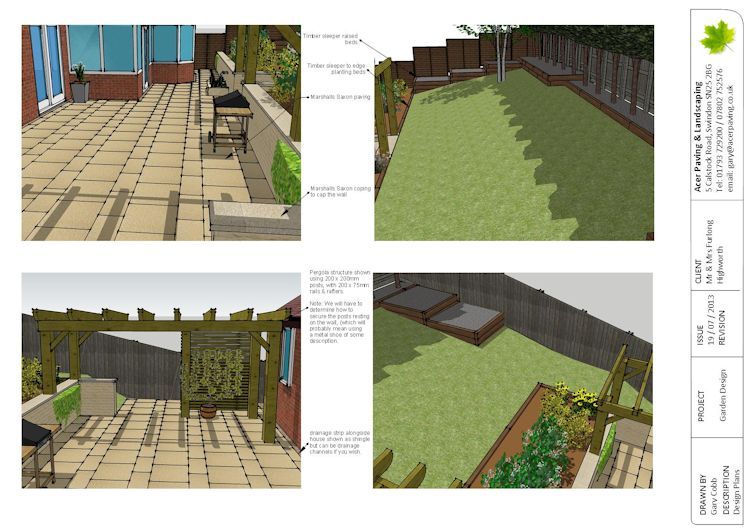
Adding Plants and Structures
With your basic layout established, it’s time to breathe life into your garden. Adding plants and structures is vital for creating that lush, inviting feel. Here’s how you can expand your design:
– Import Plant Models: Head to the 3D Warehouse within SketchUp and search for plant models. Download and place them in your garden.
– Custom Plant Shapes: Use the arc and circle tools to create custom shapes for topiary or flower beds, giving your space a personal touch.
– Position Structures: Whether it’s a gazebo or a garden shed, use the push/pull tool to elevate structures off the ground and position them accurately within your layout.
– Group Elements: To keep your model neat, group plants and structures. This makes editing or moving them around much easier.
Applying Textures and Colours
Textures and colours are the icing on the cake for your garden design, bringing depth and personality to your project. Here’s how to elevate your garden with visual flair:
– Select Textures: Navigate to the materials panel and browse through various textures available. From grass to stone, pick textures that reflect the real-world materials you want to emulate.
– Use Paint Bucket Tool: Simply click on the paint bucket tool, select your desired texture, and click on the surfaces of your plants or structures to apply.
– Adjust Colour: For a more bespoke look, modify the colour settings in the materials panel. This allows you to create the perfect shade that resonates with your style.
– Preview in 3D: Frequently switch to the 3D view to see how your textures and colours come together, ensuring everything aligns with your vision.
“Textures and colours can turn a simple garden into a breathtaking masterpiece.”
Advanced Features and Exporting Models: Step By Step Guide To SketchUp Garden Modeling
As you push your garden modelling skills in SketchUp to the next level, understanding advanced features and the exporting process is crucial. This section delves into using layers for organisation, rendering techniques for visualisation, and how to export your models in various formats.
Using Layers for Organisation
Layers are fundamental in managing complex designs, allowing you to segregate different components of your garden model for clarity and ease of access. Proper use of layers can simplify the navigation of intricate projects, enabling you to focus on one aspect at a time.
To create and manage layers effectively, follow these steps:
- Open the Layers panel by clicking on the ‘Layers’ button in the Default Tray.
- Create a new layer for each major element of your garden, such as plants, paths, and structures, using the ‘Add Layer’ button.
- Assign objects to their respective layers by selecting the object, right-clicking, and choosing ‘Entity Info’ to adjust the layer assignment.
- Toggle visibility of layers to simplify your workspace; hide layers that are not currently being worked on to maintain focus.
Utilising layers not only enhances your workflow but also makes it easier to share specific elements with clients or collaborators without overwhelming them with details.
Rendering and Visualising Your Garden Model
Rendering transforms your garden model into a stunning visual representation, allowing you to see how materials, lighting, and shadows play out in your design. This is key for getting a realistic feel of your garden before any physical changes are made.
To effectively render your model, consider the following:
- Use plugins like V-Ray or Enscape for professional quality rendering. These tools provide advanced settings for lighting, textures, and environment settings.
- Experiment with different time-of-day settings in the rendering plugin to see how natural light interacts with your design.
- Incorporate realistic textures for your plants and surfaces to enhance the visual appeal; this can be done by applying high-quality image textures that mimic the real-world materials.
- Set up scenes in SketchUp to capture various angles and views of your garden, allowing you to present multiple perspectives to stakeholders.
Rendering not only enhances presentation but can also help in making design decisions, showcasing potential issues before they arise.
Exporting Models in Different Formats
Exporting your finished garden model in the right format is essential for sharing with clients, collaborators, or for printing purposes. SketchUp supports various formats to cater to different needs.
Here’s how to export your models efficiently:
- To export as a 2D graphic (like PNG or JPG), go to File > Export > 2D Graphic. Select your preferred resolution and quality settings.
- For 3D models, choose File > Export > 3D Model. You can select formats such as COLLADA (.dae) or OBJ for compatibility with other software.
- Consider exporting to PDF for a professional presentation; use File > Print and then choose ‘Save as PDF’ in the print dialog.
- Make sure to check the scale and orientation of your model before exporting to ensure it meets the requirements of the intended use.
Exporting your models properly ensures that your hard work can be shared and appreciated by others, whether for collaboration, client presentations, or even personal archiving.
If you’re looking to step up your design game, learning how to create a 3D floor plan using Punch Home Design is where it’s at. It’s dead simple and you can visualize your space like a pro. Once you’re sorted with the floor plan, you can dive into those sweet Punch Home Design Software for landscaping design ideas to make your garden pop.
It’s all about creating that vibe that’s uniquely yours.
When you’re thinking about your space, you can’t miss Punch Home Design Software for landscaping design ideas , it’s a game-changer for bringing your outdoor dreams to life. Pair that with how to create a 3D floor plan using Punch Home Design , and you’ve got a killer combo to craft a home that’s not just livable, but lush and lively too.
Let’s make your crib a masterpiece!