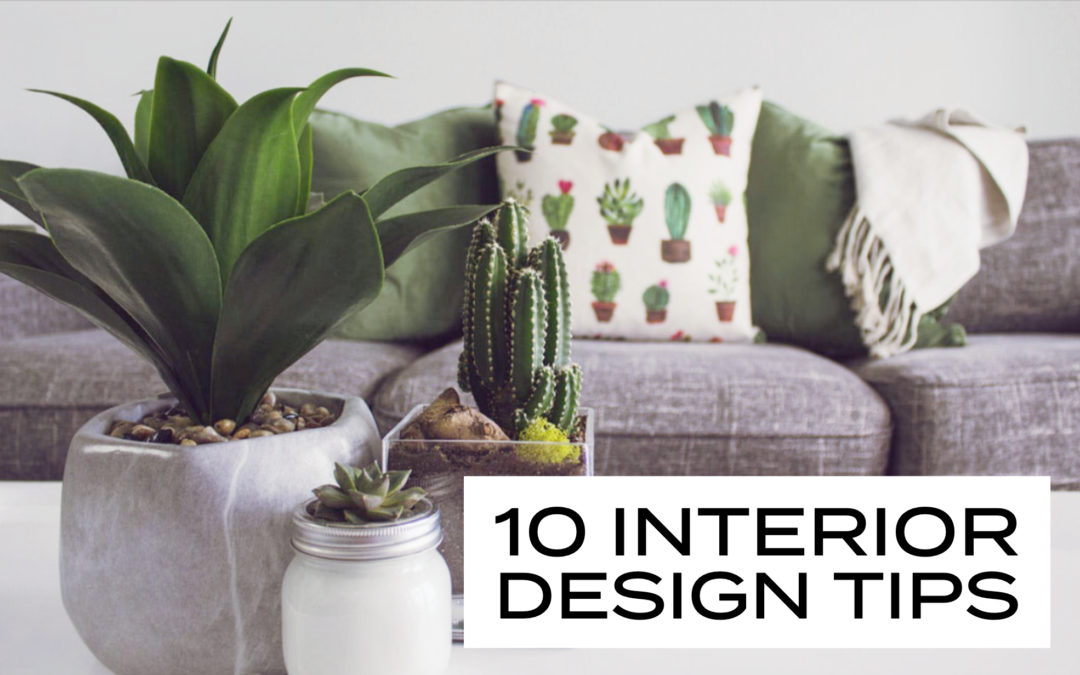
Best tips for designing with Home Designer Suite sets the stage for this enthralling narrative, offering readers a glimpse into a story that is rich in detail and brimming with originality from the outset. This user-friendly software is a veritable toolbox for budding interior designers, providing an extensive array of features that simplify everything from intricate floor planning to stunning 3D visualisations. With its intuitive interface, even novices can navigate the complexities of design, employing various tools and techniques that promise to enhance any living space.
From understanding the fundamentals of design principles to mastering advanced techniques like layering lighting and incorporating textures, Home Designer Suite equips users with the knowledge to create captivating interiors. The software demystifies the design process, allowing for creative expression while adhering to essential concepts such as scale, proportion, and colour theory.
Understanding Home Designer Suite
Home Designer Suite is a comprehensive software tool designed specifically for interior design enthusiasts and professionals alike. This platform combines advanced features with user-friendly navigation, making it an essential resource for anyone looking to bring their design visions to life.
The software boasts a range of features that streamline the design process, including an intuitive drag-and-drop interface, extensive libraries of objects, materials, and textures, as well as powerful 3D visualization capabilities. These features collectively empower users to create intricate designs with minimal hassle, regardless of their level of expertise.
Main Features of Home Designer Suite
The core functionalities of Home Designer Suite cater to various aspects of interior design, ensuring a well-rounded experience. These features include:
- Floor Planning Tools: The suite offers precision tools for creating detailed floor plans that can be tailored to meet specific design requirements. Users can easily adjust dimensions, wall types, and room layouts to achieve their desired spatial configurations.
- 3D Visualization: Home Designer Suite’s 3D rendering capabilities allow users to view their designs from multiple angles. This feature provides a realistic representation of how a space will look, assisting in the decision-making process regarding colour schemes, furniture placement, and overall aesthetics.
- Material and Object Libraries: With access to vast libraries containing numerous materials, textures, and furnishings, designers can experiment with various elements to create unique and personalised interiors. This extensive collection enhances creativity and provides inspiration.
- Design Wizards: The suite includes design wizards that guide users through various tasks, such as creating room layouts or selecting colour schemes. These wizards simplify the design process, making it accessible to beginners.
User Interface and Ease of Use
The user interface of Home Designer Suite is notably designed with beginners in mind, ensuring that even those without extensive design experience can navigate the software effectively. The layout is clean and logical, with essential tools and features readily accessible.
Key aspects of the user interface that contribute to its ease of use include:
- Drag-and-Drop Functionality: Users can effortlessly add and position elements within their designs by simply dragging items from the library and dropping them into the floor plan.
- Contextual Toolbars: These toolbars provide quick access to relevant tools depending on the task at hand, reducing the cognitive load on users and streamlining the design process.
- Tutorials and Help Sections: The software is equipped with comprehensive tutorials and help sections that guide users, facilitating a smooth learning curve and enhancing overall user satisfaction.
Tools for Floor Planning and 3D Visualisation
Home Designer Suite offers an array of tools specifically designed to aid in both floor planning and 3D visualisation. These tools are integral to creating cohesive and functional designs.
Among the most notable tools are:
- Room Design Tool: This tool enables users to define room dimensions, select wall types, and designate room functions, allowing for tailored floor plans that cater to specific needs.
- 3D Camera Views: Users can switch between 2D and 3D views seamlessly, providing a holistic understanding of their design. The 3D camera views allow for virtual walkthroughs of spaces, which is invaluable for both planning and presentation purposes.
- Customisable Templates: The suite provides a variety of pre-designed templates that users can customise to fit their vision, saving time while still allowing for personal expression.
- Lighting and Shadow Effects: Advanced lighting tools enable users to adjust brightness and shadow settings, resulting in realistic visualisations that enhance the aesthetic appeal of the design.
Key Design Principles
When embarking on a design journey with Home Designer Suite, understanding foundational design principles is crucial. These principles not only serve as a guide to effective design but also enhance the overall aesthetic and functionality of your space. Mastering these concepts will empower you to create layouts that are not only visually appealing but also practical and harmonious.
One of the essential principles to grasp is the significance of scale and proportion in spatial layouts. Scale refers to the size of an object in relation to another object, while proportion denotes the ratio between different elements. Achieving a balance between these aspects can render a space more inviting and well-arranged. For instance, oversized furniture in a small room can make the space feel cramped, whereas appropriately scaled pieces can enhance comfort and accessibility.
Importance of Scale and Proportion
The application of scale and proportion is vital for creating functional and aesthetically pleasing designs. Recognising how various elements interact within a space can transform an average layout into a remarkable one. The following points elucidate the importance of these principles:
- Visual Harmony: Maintaining a consistent scale across furniture and decor fosters a sense of coherence.
- Spatial Awareness: Understanding proportions helps in making the most of available space, ensuring each area serves its purpose effectively.
- Comfort and Accessibility: Proper scale and proportion can enhance user experience, making navigation through spaces intuitive and comfortable.
By considering these factors, designers can create spaces that feel balanced and appropriate to the inhabitants’ needs.
Color Theory and Design Choices
Another pivotal aspect of design is colour theory, which delves into how colours interact and the psychological effects they can have on occupants. Understanding colour relationships can significantly influence the mood and functionality of a space. The right colour palette can evoke emotions, create illusions of space, and even affect how light is perceived within an area.
Key components of colour theory include:
- Colour Wheel: This tool represents the spectrum of colours and their relationships, guiding designers in selecting harmonious colour schemes.
- Warm and Cool Colours: Warm colours (reds, oranges, yellows) can create an energising atmosphere, while cool colours (blues, greens, purples) tend to be calming and soothing.
- Complementary Colours: These are colours that sit opposite each other on the colour wheel, providing a striking contrast that can energise a space.
- Monochromatic Schemes: Using variations of a single colour can create a cohesive look that feels sophisticated and understated.
Incorporating colour theory into your design process allows for intentional choices that resonate with the intended atmosphere of the space. For example, using soft blues and greens in a bedroom can promote relaxation, while vibrant reds in a dining area can stimulate conversation and appetite.
By applying these critical design principles, you can harness the full potential of Home Designer Suite to create exceptional environments that reflect both function and aesthetics.
Advanced Design Techniques
In the realm of interior design, advanced techniques play a pivotal role in elevating your projects from the mundane to the extraordinary. By mastering the application of textures, layering lighting, and utilising custom templates, designers can significantly enhance the aesthetic quality and functionality of their creations. This section delves into the sophisticated methods that can be applied within the Home Designer Suite to achieve remarkable results.
Incorporating Textures and Materials
Textures and materials can transform a space, adding depth and visual interest to your designs. The following step-by-step guide will aid you in seamlessly integrating these elements into your projects.
1. Select Base Material: Start with your primary surface material, which will serve as the foundation for your design. This could be a paint colour, wallpaper, or a specific flooring option.
2. Introduce Textures: Layer additional textures on top of your base. This can include fabrics, such as cushions or curtains, as well as textured wall finishes like stucco or brick. To do this in Home Designer Suite, navigate to the materials library and select ‘Add Texture’ to apply overlays.
3. Experiment with Patterns: Combine various textures and patterns for a more dynamic effect. Use the ‘Pattern Overlay’ option to test different combinations.
4. Adjust Opacity and Scale: Fine-tune the appearance of your textures by adjusting their opacity and scale to ensure they harmonise with the overall design scheme.
Layering Lighting Effects
Effective lighting design can drastically alter the perception of space. The following methods will help you layer lighting effects within Home Designer Suite to create a well-lit environment that suits various moods and functions.
– Ambient Lighting: Begin with the overall ambient light, which provides the foundation. Use the ‘Lighting’ tool to place ceiling fixtures or wall sconces that emit soft light.
– Task Lighting: Identify areas that require focused light, such as workspaces or reading nooks. Add table lamps or under-cabinet lighting to these zones using the specific ‘Task Lighting’ feature within the software.
– Accent Lighting: Highlight architectural features or decorative elements by adding spotlights. Position these strategically to draw attention to artwork or textures. Use the ‘Accent Lighting’ tool for precise placement.
– Layer and Adjust: Once all layers are set, adjust the brightness and colour temperature of each light source to create a cohesive illumination throughout the space.
Using Custom Templates
Custom templates are a powerful feature in Home Designer Suite that can enhance efficiency in the design process. By creating templates tailored to specific project types, designers can save time and maintain consistency across multiple designs.
1. Create a New Template: Start by designing a room or project that reflects your desired style. Once satisfied, save this as a template by selecting ‘Save as Template’ in the file menu.
2. Set Design Parameters: Customise your template with predefined styles, colours, and materials that align with your design philosophy. This ensures that future projects maintain a cohesive look.
3. Duplicate and Modify: When starting a new project, simply duplicate your template. This allows for quick modifications while retaining the core design elements you’ve established.
4. Utilise as a Reference: Use the template as a reference for sizing, spacing, and materials whenever you embark on new designs. This practice promotes efficiency and aids in maintaining a high standard throughout your work.
“Custom templates not only streamline the design process but also ensure a professional finish across all projects.”
Troubleshooting Common Issues: Best Tips For Designing With Home Designer Suite
When engaging with Home Designer Suite, users may encounter a variety of challenges that can hinder the design process. Addressing these common issues is vital for enhancing user experience and ensuring successful project outcomes. This section delves into prevalent problems and offers practical solutions for smooth operation and effective project management.
Identifying Frequent Challenges
Users often face several challenges while using Home Designer Suite, including software crashes, lagging performance, and rendering discrepancies. Recognising these issues early can prevent frustration and project delays. Below are the most commonly reported challenges along with their respective solutions:
- Software Crashes: Frequent crashes can occur due to insufficient system resources. Ensuring that your PC meets the recommended specifications can mitigate this issue.
- Lagging Performance: Users experience sluggishness, especially when working with complex designs. Reducing the display quality or simplifying the model can markedly improve responsiveness.
- Rendering Problems: Inconsistent lighting or textures may arise during the rendering process. Fine-tuning lighting settings and ensuring texture files are correctly linked can resolve these discrepancies.
Solutions for Rendering Problems
Rendering issues can significantly affect the visual quality of a design. To enhance rendering outcomes, consider the following approaches:
- Adjusting Lighting Settings: Properly configuring ambient, spot, and directional lights can lead to a more realistic representation of the design.
- Texture Management: Ensure all texture files are properly imported and assigned to the relevant surfaces. Missing textures can lead to blank or distorted visuals.
- Rendering Options: Experiment with different rendering quality settings, including resolution and anti-aliasing options, for optimal results.
Improving Performance, Best tips for designing with Home Designer Suite
To optimise the overall performance of Home Designer Suite, users should adopt specific practices that streamline the design experience. The following tips can substantially improve software performance:
- Regular Software Updates: Keeping the software up to date ensures access to the latest features and bug fixes that enhance performance.
- System Resource Management: Closing unnecessary applications running in the background can free up RAM and improve processing speed.
- File Management: Regularly archiving older projects and maintaining a clean file directory can help the software run smoothly.
Best Practices for Saving and Exporting Projects
Properly saving and exporting projects is crucial for maintaining design integrity and ensuring accessibility. Below are best practices to consider:
- Use Project Backup Features: Regularly back up your projects using the built-in backup option to prevent data loss.
- Export Formats: When exporting designs, choose compatible formats such as PDF for documents or JPG for images to ensure accessibility across different platforms.
- Organise Exported Files: Create a systematic file naming convention and folder structure to facilitate easy retrieval and management of exported projects.
When it comes to planning a lovely outdoor space, creating a garden design using SketchUp made easy is an excellent approach. This intuitive tool allows you to visualise your ideas effortlessly, ensuring that your vision comes to life. For those just starting, the SketchUp garden layout tutorial for beginners provides essential insights, guiding you through the initial steps with clarity and precision.
If you’re keen on transforming your outdoor space, learning about creating a garden design using SketchUp made easy is an excellent starting point. This intuitive software allows you to visualise your ideas with remarkable clarity, making the design process far less daunting. Coupled with a SketchUp garden layout tutorial for beginners , you’ll soon be well-equipped to craft the garden of your dreams.
For those embarking on a journey into garden design, the SketchUp garden layout tutorial for beginners provides invaluable insights. It guides you through the software’s functionalities, enabling you to conceptualise your garden layout effectively. Once you’re familiar with these basics, exploring creating a garden design using SketchUp made easy will enhance your skills, allowing for creativity and precision in your designs.